7. Tasks
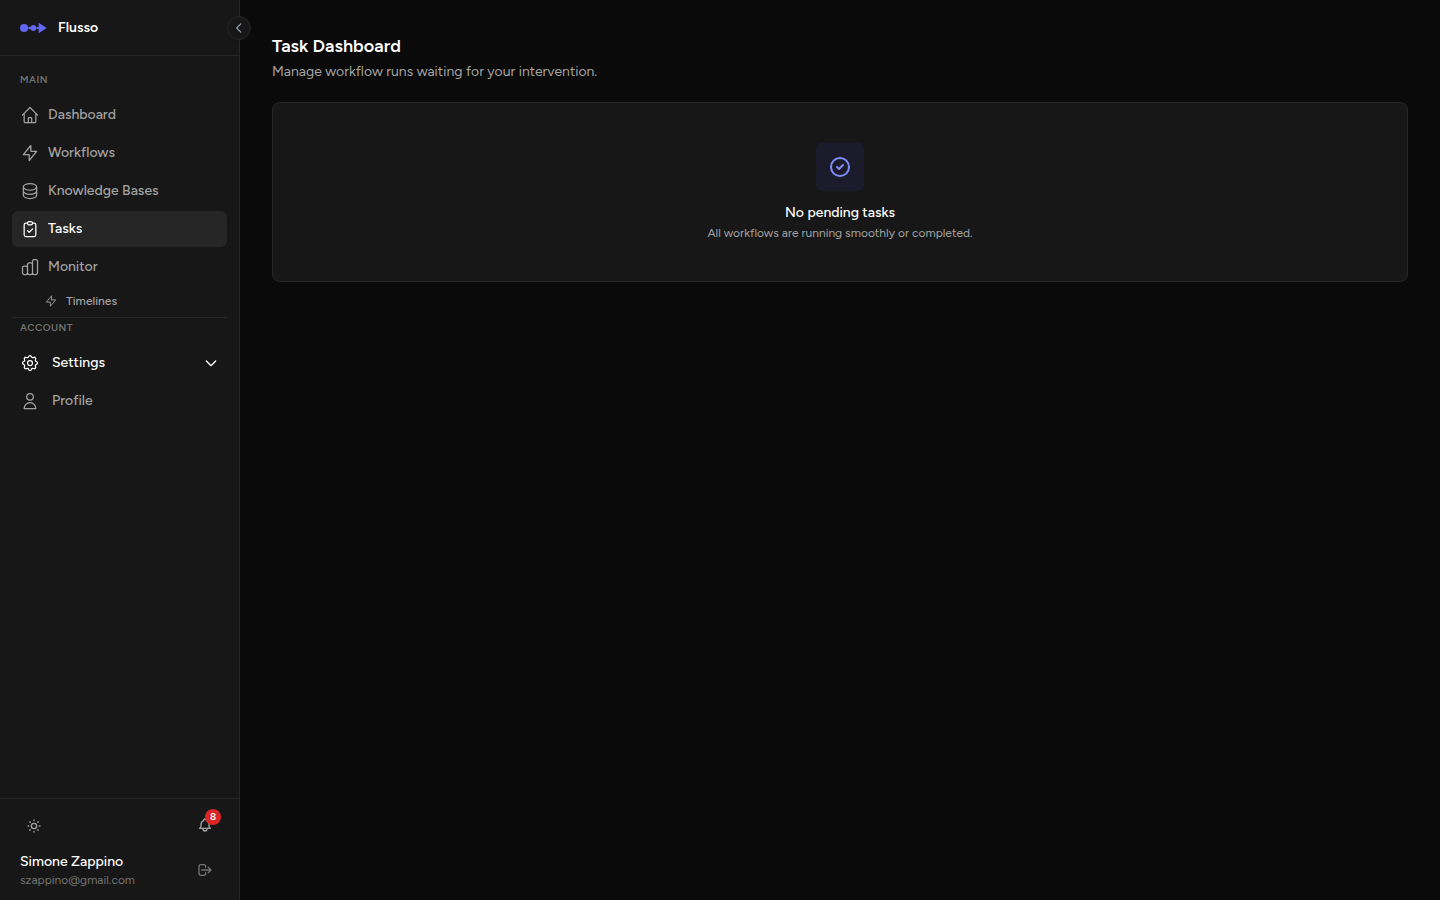
The Tasks page is the human interaction centre of Flusso. When a workflow reaches an Approval or Manual Input node, it pauses and creates a task for you to act on. Tasks are listed here until you approve, reject, or submit the required information.
Why Tasks Exist
Fully automated workflows are powerful, but some decisions require a human judgment call. Flusso's human-in-the-loop nodes let you insert human checkpoints at any point in a workflow:
- Before sending a large batch of emails, an approval step lets a human review and confirm.
- Before posting to social media, a manual input step might ask for the final text.
- Before processing a financial transaction, an approval ensures a second pair of eyes reviews it.
When a workflow pauses, it enters Waiting status and remains paused until a human responds on the Tasks page. The workflow does not time out — it waits indefinitely.
Task Types
Approval Tasks
An Approval task presents a message (defined in the workflow's Approval node) and two buttons: Approve and Reject.
-
Approve — the workflow resumes execution at the step following the Approval
node. The output of the Approval node is
{ "approved": true }. - Reject — the workflow run is terminated with a Failed status and the task is removed from the list. The run detail will record the rejection.
Manual Input Tasks
A Manual Input task presents a form with one or more fields defined in the workflow's Manual Input node configuration. The user fills in the form and submits it to resume the workflow.
The form may contain fields of the following types:
| Field Type | Renders as |
|---|---|
| text | A single-line text input. |
| textarea | A multi-line text area for longer input. |
| number | A numeric input field. |
| date | A date picker field. |
Required fields are marked with an asterisk (*). The form cannot be submitted until all required fields are filled. Once submitted, the entered values are passed into the workflow as the output of the Manual Input node, and execution resumes from the next step.
Responding to Tasks
Approving a Task
-
Open the Tasks page Click Tasks in the sidebar navigation.
-
Read the approval prompt The card displays the message configured in the Approval node. Review it carefully.
-
Click "Approve" or "Reject" The task is resolved immediately and the workflow either resumes or is terminated.
Submitting a Manual Input Task
-
Open the Tasks page The task card shows the form fields.
-
Fill in all required fields Fields marked with * must be completed before submission.
-
Click "Submit" The entered values are sent to the workflow and execution resumes.
Rejecting / Cancelling a Task
Every task card (both Approval and Manual Input) includes a Reject Run button. Clicking it immediately terminates the paused workflow run with a Failed status, and removes the task from the list. Use this if the workflow should not continue — for example, if the original triggering event is no longer relevant.
Dashboard Quick Access
If there are any pending tasks, a Pending Actions card appears on the Dashboard with a count of how many tasks are waiting. Click View Tasks to jump directly to the Tasks page.
This ensures that even if you forget to check the Tasks page, you will see a reminder the next time you visit the Dashboard.
Tips for Managing Tasks
- Check Tasks regularly — workflows paused at a human step do not proceed until you act. For time-sensitive workflows, check the Tasks page at least once a day.
- Use the Dashboard badge — the Pending Actions counter on the Dashboard is the fastest way to know if any tasks require your attention.
- Design approval prompts clearly — the prompt text shown on the Approval card should include enough context for the reviewer to make an informed decision without needing to look up the workflow configuration.
-
Use variable references in prompts — the Approval node's prompt field
supports variable references, so you can include relevant data from earlier steps. For
example: "Approve sending this email to
{{ fetch_user.output.email }}?" - Keep Manual Input forms short — only ask for information that cannot be obtained automatically. Fewer fields mean faster task completion.